Book cover file specs for self-publishing authors Your cover designer has delivered your files. They're beautiful. You love them. You're ready to upload and get this book into the world. Understanding book cover file specs for self-publishing is the one thing standing...

4.5 Line edit for a romance novel that feels polished
Line edit for a romance novel that feels polished
The line edit for a romance novel is the pass you’ve probably been waiting for. Not because the earlier stages weren’t important; without them, this one is wasted effort. This is where the work finally becomes pleasurable in a different way. You’re done moving scenes around and restructuring emotional beats. You’re done asking whether the story works. Now you zoom all the way in, to the sentence level, and make the story smooth and precise and alive.
The goal is not to make your writing sound fancier, more literary, or more like your favourite author. It’s simpler and more specific than that.
Make it easy for readers to fall into the story and stay there.
Every sentence that makes a reader stumble, reread, or briefly fall out of the world you’ve built is a tiny crack in the spell. Line editing is the process of finding those cracks and closing them.
You’re still not hunting typos. That’s proofreading’s job, and it comes later because a good line edit will change enough sentences that new errors slip in. Clean the sentences first. Proofread after.
Clarity and consistency: never make readers work unnecessarily
A line edit starts with one core question:
Is this sentence pulling readers in, or making them work?
Some reader work is intentional: a layered sentence that rewards a reread, an ambiguity that creates productive tension, a structural choice that deliberately slows them down. But when a sentence is simply convoluted, when a paragraph drifts tense for no reason, or when the POV character suddenly sounds like a completely different person, that work is accidental and it costs you.
Read through looking for sentences that need to be read twice just to make sense. Long, winding constructions that cram too many ideas into one breath. Tense drift, where a manuscript that is meant to be in past slips into present for a paragraph, or a first‑person narrator whose grammar shifts formality mid‑scene. Voice slippage, where your character’s internal monologue starts to sound like the author instead of the person living the moment. These are small, often invisible to you while drafting, which is exactly why the line edit needs its own pass.
The fix is usually much simpler than the problem. Break one complex sentence into two or three clean ones. Replace vague phrasing like “she felt something” or “it was hard to explain” with something concrete and direct. Anchor drifting tense back to the one you chose. For every sentence, ask:
Is it clear who is speaking, thinking, moving, and feeling?
Word choice and dialogue tags: precision over decoration
At the line level, small choices pile up fast. The difference between writing that feels vivid and writing that feels slightly flat is almost always in the specificity of individual words, not how “fancy” the sentences are.
Start with your verbs.
Weak, general verbs like went, got, did, made, had are the equivalent of placeholder furniture. They fill the space without adding much. Wherever a more specific verb is available and still sounds natural, use it. Not to show off, but to be precise.
“She crossed the room” tells us less than “she paced to the window,” and neither requires extra brain power from the reader.
Adverbs propping up weak verbs are a related issue: “said angrily,” “walked quickly,” “smiled sadly” are doing extra labour to compensate for a tired verb. A stronger verb, or a clearer context, almost always does better work.
Dialogue tags deserve their own attention.
“Said” and “asked” are your workhorses. They are invisible in exactly the way you want, because a flashy tag draws attention to itself and away from the conversation. Use distinctive tags sparingly and only when they genuinely add something you cannot show another way. More often, an action beat will do more. Instead of “I’m fine,” she snapped angrily, try: “I’m fine.” She slammed the cupboard door. The emotion lives in the action; the reader does not need to be told what it means.
Then look for your personal crutch words. Every writer has them. They multiply quietly in drafts. Do a light search‑and‑destroy pass for your usual suspects and cut the ones that are just clutter while keeping the ones that are actually in service of voice. A single pass like this can make the writing feel sharper and more intentional without changing its character.
Rhythm and flow: making the writing sound like the story
Your writing has a sound, even when someone is reading silently. The rhythm of your sentences creates an experience in the reader’s body: tension or ease, urgency or space, forward movement or deliberate pause. When the rhythm of the sentences fights the emotional rhythm of the scene, readers feel that discord, even if they can’t explain why.
Look for paragraphs where every sentence is roughly the same length and shape. This is one of the most common rhythm problems in a draft, because uniform sentences feel neat and controlled when you’re writing them. On the page, they lull the reader.
Vary sentence lengths. Short sentences carry weight precisely because they’re short. A single‑sentence paragraph after a long, winding one lands hard. Longer, more flowing sentences earn their keep in moments of reflection or description, when you want readers to slow down. In a tense argument, the moment before a kiss, or the scene where everything breaks, short sentences and abrupt stops match the urgency on the page.
Punctuation is also a rhythm tool. A comma is a breath. A period is a stop. An em dash barges in as a particular kind of interruption. Ellipses trail off and leave space for what’s not said. These are not just grammar choices; they’re pacing choices. Used with intention, they shape the emotional texture of a scene as much as the words themselves.
Read your work aloud or let text‑to‑speech read it to you. This is one of the most effective diagnostics at the line edit stage. Where you stumble, the sentence structure is doing something awkward. Where you run out of breath, the sentence is too long. Where you get bored listening to your own story, the rhythm has gone flat. Adjust sentence breaks and word order until the paragraph sounds the way the scene should feel.
Grammar and punctuation: professionalism is reader trust
This is the least glamorous part of a line edit and one of the most important. Consistent, correct grammar and punctuation are not about being “perfect”; they’re about signalling to a reader that a professional who takes her work seriously wrote this book. Errors at this level are small on their own, but they add up. A reader who keeps tripping over punctuation mistakes or pronoun confusion is a reader whose immersion is being repeatedly interrupted.
Focus on the areas where sloppiness shows fastest:
- subject‑verb agreement, which can vanish in long, complex sentences;
- pronoun clarity, especially in scenes with multiple characters of the same gender;
- and the small typographical conventions readers have quietly been trained to expect.
Every new speaker on a new line. Dialogue punctuation handled consistently. These details are not “fancy style.” They’re part of basic readability, and when you break them without a clear reason, it reads as error, not voice.
If you use an editing tool like ProWritingAid or AutoCrit, treat it like a sharp intern, not the boss. Run a pass, but check every suggestion against your ear and your voice before accepting it. A tool will flag sentence fragments as errors that you may have written on purpose. It will try to “fix” dialogue that sounds exactly like your character. The tool does not know the difference. You do.
How to give yourself structure for this pass
Line editing is intense. You’re making a lot of small decisions, and decision fatigue is real. Trying to do everything in one heroic pass is a great way to start strong and stall out.
Work in manageable chunks: one chapter at a time or a specific page count per session.
Consider giving each pass a single job instead of trying to fix everything at once. One pass for clarity and consistency. A second for word choice and dialogue tags. A third where you read aloud and tweak rhythm. A final slow pass for grammar and punctuation only.
Four focused, lighter passes are almost always more effective than one attempt to catch every type of issue in one go.
Protect your voice while you do this. Keep a paragraph nearby that feels unmistakably like you at your best, where the writing is doing exactly what you want. When the line edit starts to make everything sound a bit beige, reread that paragraph and use it as your compass. Some suggestions, from tools and from humans, will flatten what makes your voice yours. You’re allowed, encouraged even, to decline those suggestions. The goal of a line edit is clean writing that sounds like you at your best, not clean writing that sounds like no one in particular.
Where the line edit for a romance novel ends
When you’ve finished your line‑edit passes, your manuscript is close to the version readers will see. The bones are sound. The scenes are doing their jobs. The writing is smoother, clearer, and more intentional, and it still sounds like you.
What remains is a proofread: a final, holistic read to catch anything that slipped through. That’s the last step between you and the version of the book you’ll send to early readers and reviewers. You are very close at this point, and the work you’ve put in at the line level is what makes the story feel professional on the page.
Key takeaway
The line edit for a romance novel is where you stop wrestling with structure and scenes and focus on how the story feels sentence by sentence. When you prioritise clarity, precise word choice, intentional rhythm, and clean grammar, your story becomes easier for readers to fall into and harder for them to put down, without sacrificing the voice that makes your books yours.
Join Author Ever After
You’ll get immediate and full access to the Romance Your Launch program (all 11 modules), a worksheet for every lesson, plus three weekly, small group support meetings to answer all your questions, and a freaking amazing community of pre-published and early career romance authors who are building their indie publishing careers alongside you.
Get more details about the community here.
Or, go straight to the application form.
Get every lesson in the Romance Your Launch course
—> Click this link and I’ll send you two to three lessons a week, starting with Lesson 1.
—>Or, join my regular email list if you’d rather just pick up from the current lesson.
This lesson is part of Module 4: Revise & shine in the Romance Your Launch program.
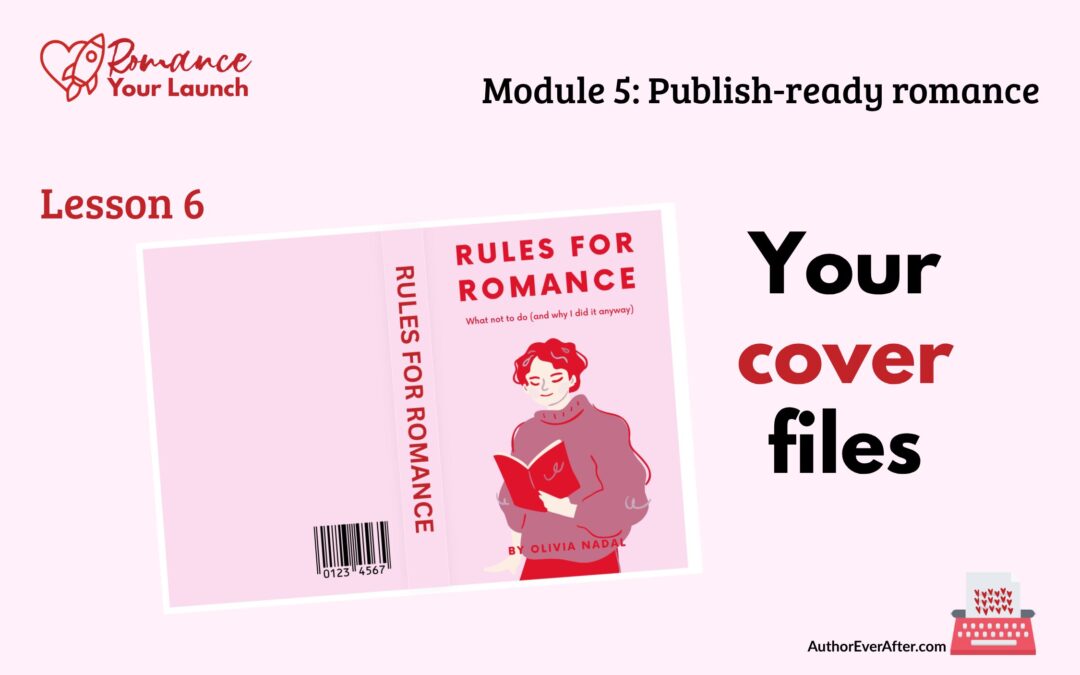
5.6 Book cover file specs for self-publishing authors
5.5 Formatting check before you publish your romance novel
Your cover is beautiful. But a stunning cover file that fails a platform’s technical requirements can mean reprints, rejected uploads, or colours that shift dramatically between screen and print. Here’s how to get your book cover file specs right before anything goes live.
5.4 How to format a romance novel for self-publishing
Good formatting is invisible. Bad formatting costs you reviews you didn’t see coming. Here’s how to format a romance novel for self-publishing so your pages disappear and your readers stay in the story.
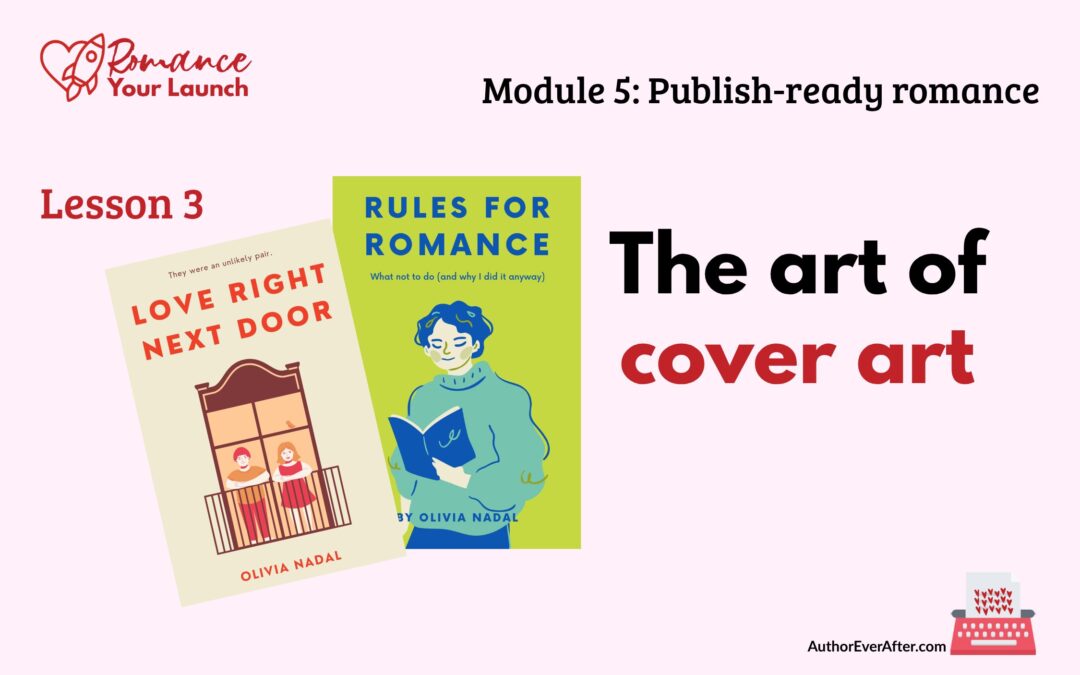
5.3 Romance book cover design guide for indie authors
Your feelings about what looks beautiful are almost beside the point. A romance cover is a signal, not self-expression. This romance book cover design guide shows you exactly what that signal needs to say and how to say it.

5.2 ISBNs for self-published authors: what you need to know
Before you upload your manuscript anywhere, you need to make one decision that affects every version of your book and every platform it lives on. Here’s what to know about ISBNs for self-published authors before you hit publish.

5.1 Romance novel metadata tips for self-published authors
Your book deserves to be found. But even a great romance novel stays invisible if your metadata isn’t doing its job. These romance novel metadata tips for self-published authors will help you get it right before you hit publish.
4.6 Final manuscript review before publishing your romance
“Almost there” is where a lot of authors stall out. In this lesson, you’ll walk through a final manuscript review before publishing so you can read like a reader, catch small issues that break immersion, and finally feel confident calling your romance done.
4.5 Line edit for a romance novel that feels polished
The line edit is where your romance stops feeling like a draft and starts feeling like a book. In this lesson, you’ll learn how to make your sentences clearer, sharper, and more intentional—without turning your voice into bland, beige prose.
4.4 Scene level edit for a romance novel that hits harder
Scene level edit for a romance novel that readers actually feel The structural edit asked whether your story works; the scene level edit for a romance novel asks whether your story feels. You've fixed the bones: the romance arc is present, the beats are in the right...

4.3 Structural edit for a romance novel that actually works
A structural edit is where you stop fussing over sentences and zoom all the way out to your romance as a whole. In this lesson, you’ll learn how to read your draft for structure, map the romance arc, and spot the big changes that will make everything you revise next actually worth the effort.

4.2 Beta readers for romance authors who want better books
Before you sink weeks into polishing sentences, you need to know if the story actually works for anyone who isn’t you. In this lesson, you’ll learn how to find and brief beta readers for romance authors so you get targeted, story-level feedback that makes revision easier instead of overwhelming.
4.1 Self-editing tips for romance authors who want readers
Self-editing is not a punishment for an imperfect draft; it’s how you give your romance a second life with a clearer head and a sharper eye. In this lesson, you’ll set yourself up with mindset, tools, and support so your edits actually help you reach more readers.
3.5 Social media strategy for romance authors
You do not need to be everywhere online to sell romance. In this lesson, you’ll choose one platform, decide what you actually want social media to do for your career, and build a sustainable posting rhythm that turns curiosity into clicks on your lead magnet.
3.4 Simple romance author websites
Your author website doesn’t have to impress anyone. It has to exist and give readers one clear place to go. In this lesson, you’ll pick an easy platform, claim your URL, write your copy, and build a simple, on‑brand home that points straight to your books and your list.
3.3 Email list setup for romance authors
Followers belong to the platform. Your list belongs to you. In this lesson, you’ll connect your lead magnet to a clean email setup and draft a four‑email welcome sequence so every new romance reader is welcomed, warmed up, and ready when you launch your book.
Need to go back to a previous lesson?
Return to Module 4: Revise & Shine to see all six lessons.
Or go back to the Romance Your Launch home page to see all the modules and links to their hub pages.
Want the next lesson in your inbox?
This post is part of the Romance Your Launch series—a lesson-by-lesson guide to self-publishing your romance novel, written for pre-published and early career romance authors.
.
—> Click this link, drop in your name and email address, and I’ll send you two to three lessons a week, starting with Lesson 1.
.
—> If you’d rather just pick up where the series is, join my regular email list from this link.
